# Import Legacy Account 🆕

The following instructions illustrate how to import your Demex Legacy account onto Keplr.

Learn more the Legacy integration for MetaMask [here](https://guide.dem.exchange/~/changes/REiUq5w3vfdfOKEL0jdy/welcome/getting-started/wallet-connection/metamask).

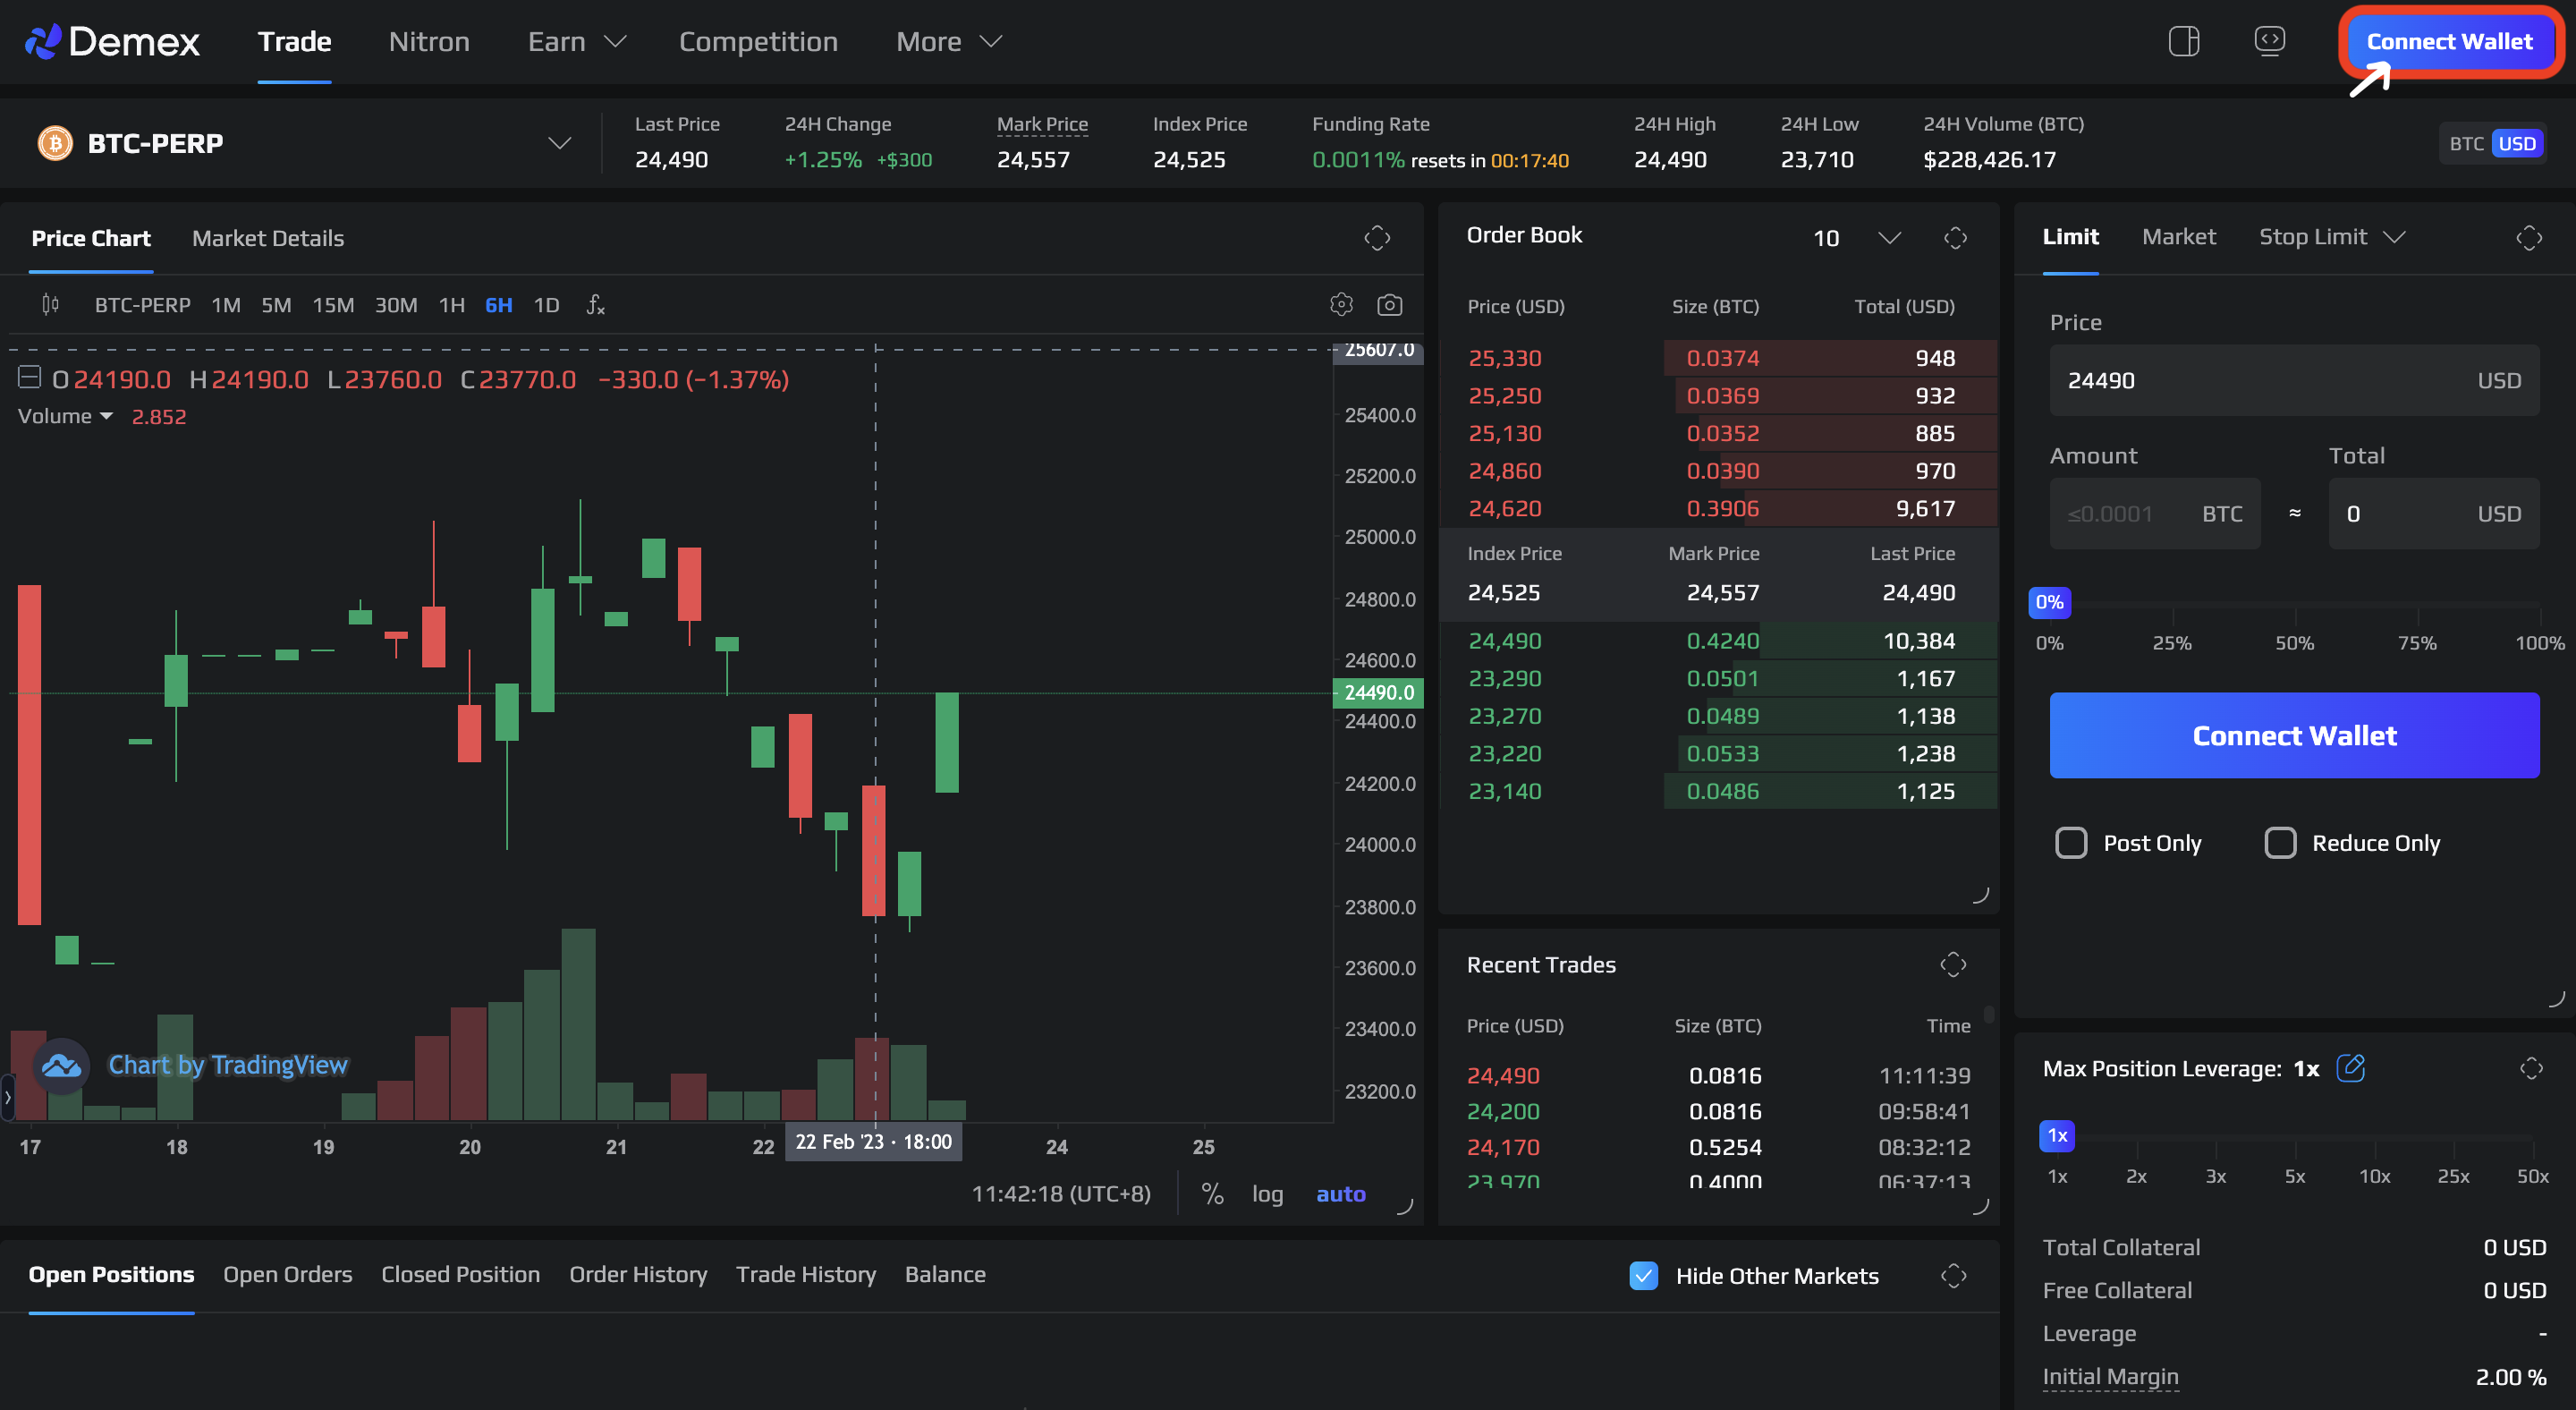
**Step 1**: Navigate to the [Demex website](https://app.dem.exchange/) and click on the 'Connect Wallet' button located at the far-right corner.

<figure><img src="https://3548599389-files.gitbook.io/~/files/v0/b/gitbook-x-prod.appspot.com/o/spaces%2F-MO-XZjWplLUJPNs07G8%2Fuploads%2FkkT41kdwxa7Bgpw9RhPG%2Fimage.png?alt=media&#x26;token=f0bfbfd2-6323-41c1-a306-4a3e8dba670d" alt=""><figcaption></figcaption></figure>

**Step 2:** Select the 'MetaMask' option located second from the bottom among the available Wallet choices.

<figure><img src="https://3548599389-files.gitbook.io/~/files/v0/b/gitbook-x-prod.appspot.com/o/spaces%2F-MO-XZjWplLUJPNs07G8%2Fuploads%2FczpNSjjW4iiUMZNlNGO1%2Fimage.png?alt=media&#x26;token=e55f940d-7f3c-4bef-8b36-f9674f10de2c" alt=""><figcaption></figcaption></figure>

**Step 3**: Legacy account detected.&#x20;

To initiate the migration process, click on the 'Migrate' button.

**Step 4**: Copy the private key given.

Click next.

**Step 5**: In order to import your account on Keplr, you need to go to the Keplr browser extension and click on the 👤 icon, followed by 'Add Account'.

{% hint style="info" %}
Install Keplr on Chrome Extension [here](https://chrome.google.com/webstore/detail/keplr/dmkamcknogkgcdfhhbddcghachkejeap?hl=en).
{% endhint %}

<figure><img src="https://3548599389-files.gitbook.io/~/files/v0/b/gitbook-x-prod.appspot.com/o/spaces%2F-MO-XZjWplLUJPNs07G8%2Fuploads%2FoqTUBVT8Xj5fsShrZdbn%2FScreen-Recording-2023-05-16-at-1.gif?alt=media&#x26;token=9d0ba1d0-7430-4fba-a052-9b215c77d3f5" alt=""><figcaption></figcaption></figure>

**Step 7**: Select 'Import existing account'.

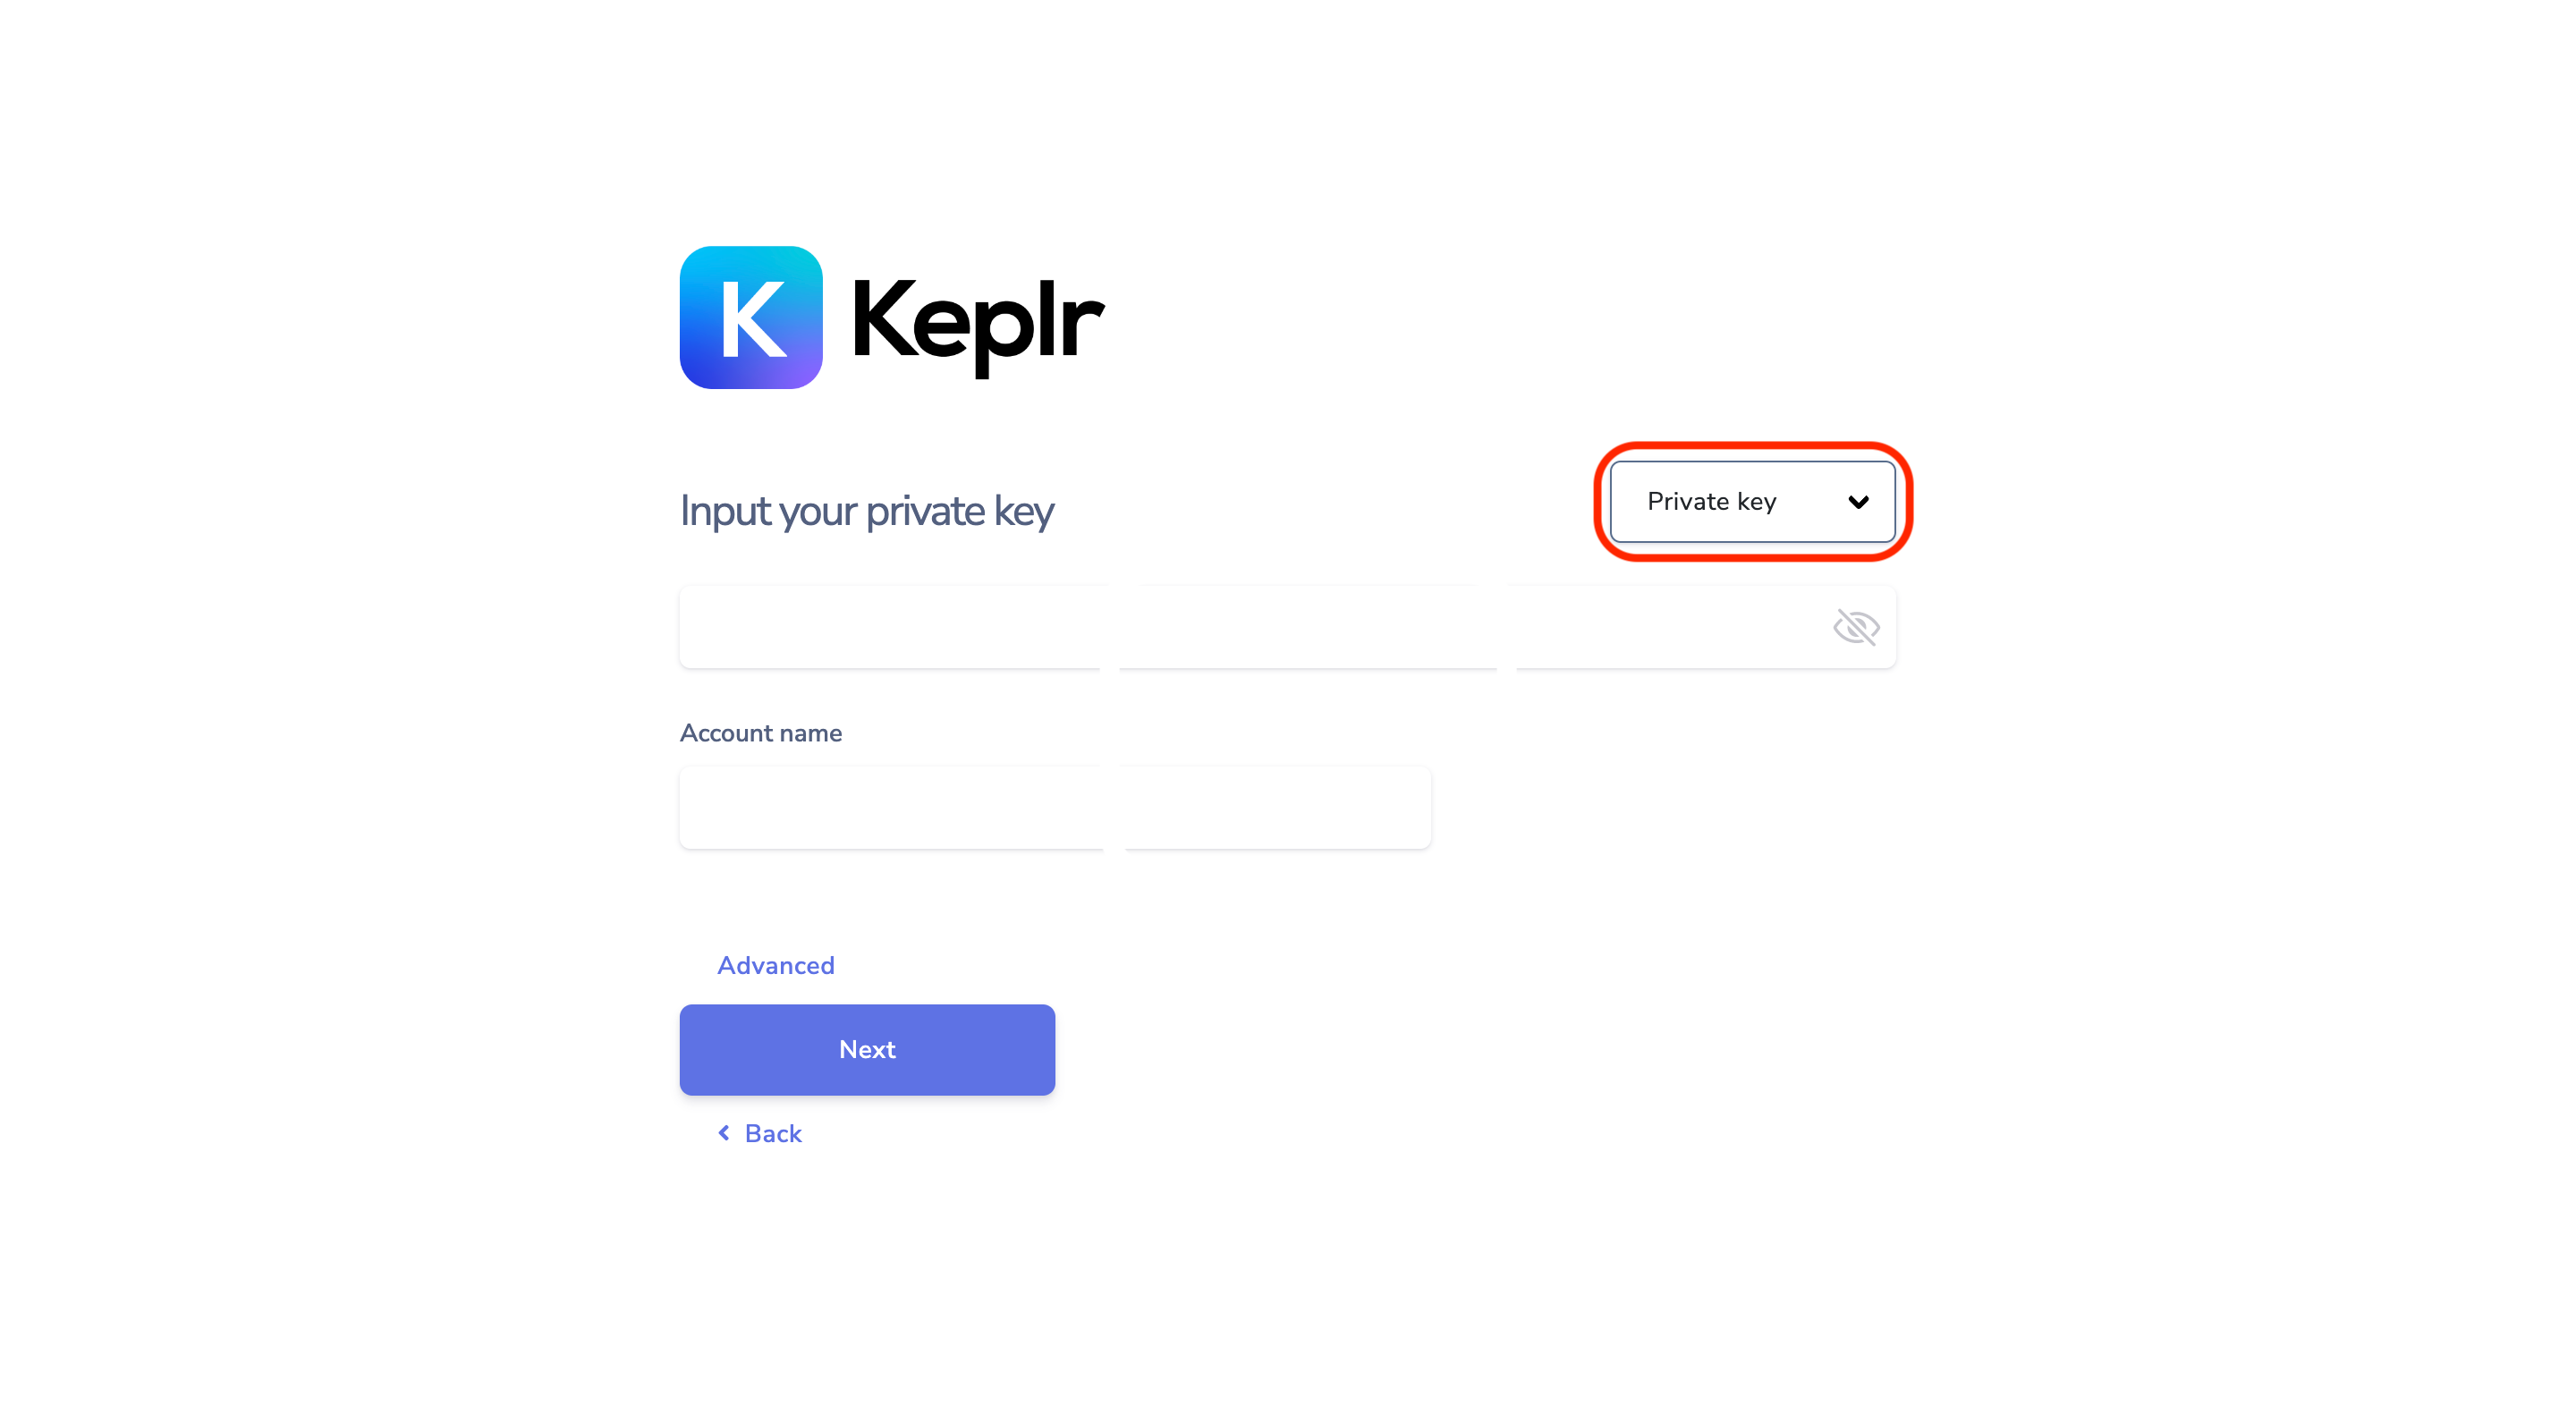
**Step 8**: Select 'Private Key' from the drop-down menu. Then, paste the private key that you copied in Step 4 into the space provided.

<figure><img src="https://3548599389-files.gitbook.io/~/files/v0/b/gitbook-x-prod.appspot.com/o/spaces%2F-MO-XZjWplLUJPNs07G8%2Fuploads%2FuRlXJFN1s6DaiB0MbSag%2Fspaces_-MO-XZjWplLUJPNs07G8_uploads_LTyYCqo0vqJNJvAe30kF_Screenshot%202023-05-15%20at%205%20copy.png?alt=media&#x26;token=6600eed0-7058-4416-a521-cb7c0296807b" alt=""><figcaption></figcaption></figure>

Click next.

**Step 9:** Once you have completed the above steps, click 'Done' and proceed to sign in to your Keplr account.

<figure><img src="https://3548599389-files.gitbook.io/~/files/v0/b/gitbook-x-prod.appspot.com/o/spaces%2F-MO-XZjWplLUJPNs07G8%2Fuploads%2FbpdIF07XSn8dIwaUluS4%2FScreenshot%202023-03-14%20at%203.38.43%20PM.png?alt=media&#x26;token=5de3fea3-064c-4d58-abf4-1364f6cba566" alt=""><figcaption></figcaption></figure>
